Migrating from Synology Plex Package to Docker
After a few months off (as it turns out, changing jobs and moving soaks up a lot of time!), I’m finally returning to writing a bit in my free time. However, rather than jumping back into the Age of Empires 2 map scripting series I thought I’d take an evening to document how to migrate away from the Synology Plex Package to a docker image install, as I’m in the middle of prepping for the update from DSM 6 to DSM 7 and haven’t seen a great article on the subject.
Note – this guide assumes you have some basic familiarity with Docker and DSM 6’s Docker app. If not, here’s the quick and dirty summary: Docker is a tool that lets developers package software into containers that provide a universal, consistent, low overhead installation process, making life much simpler for admins and developers alike (hence it’s wild explosion in popularity since it was introduced). The Synology DSM web app has a package available (hereafter referred to as an app) that lets you install and manage docker images on your Synology, which in turn gives you access to a vast array of containerized software ready to install without any additional custom packaging.
Why Migrate to Docker?
It’s nice using the Synology provided packages, but they have a tendency to run quite a bit behind the current latest and greatest. As a result I’ve steadily moved away from them towards docker, which offers a lot more flexibility with updating. In the case of Plex, the version provided by Synology for DSM 6 recently became so outdated that I was no longer able to access it from outside my local network, which is what originally prompted me to look into this.
Note – while writing this article I learned you can actually update the Plex Synology package without waiting on Synology to issue an update. I personally think docker has an easier update process (just redownload the latest image, reset the container, and you’re good to go) but here’s the link if you prefer to do an out of band update of the Synology package. That said, one thing you may want to be aware of is that I’ve seen some folks recommending that you uninstall the Plex package before updating to DSM 7 just to be safe, then reinstalling the package afterwards.
Migration – Step by Step!
If you’re here, this is the part you’re probably after. I’ve seen several guides and reddit articles discussing how to migrate, but most of them were in the context of relocating servers, migrating from one docker instance to another, used tools other than Synology’s built in docker manager (ie, docker-compose), or otherwise didn’t showcase a start to finish successful migration process. So that being said, let’s walk through this step by step.
Step 1 – Select a docker image
Finding a viable docker image is easy enough – just log into DSM, pull up Docker, and search the registry tab for Plex. Now the fun begins – as it turns out, Plex is quite popular, so there are a ton of images out there:
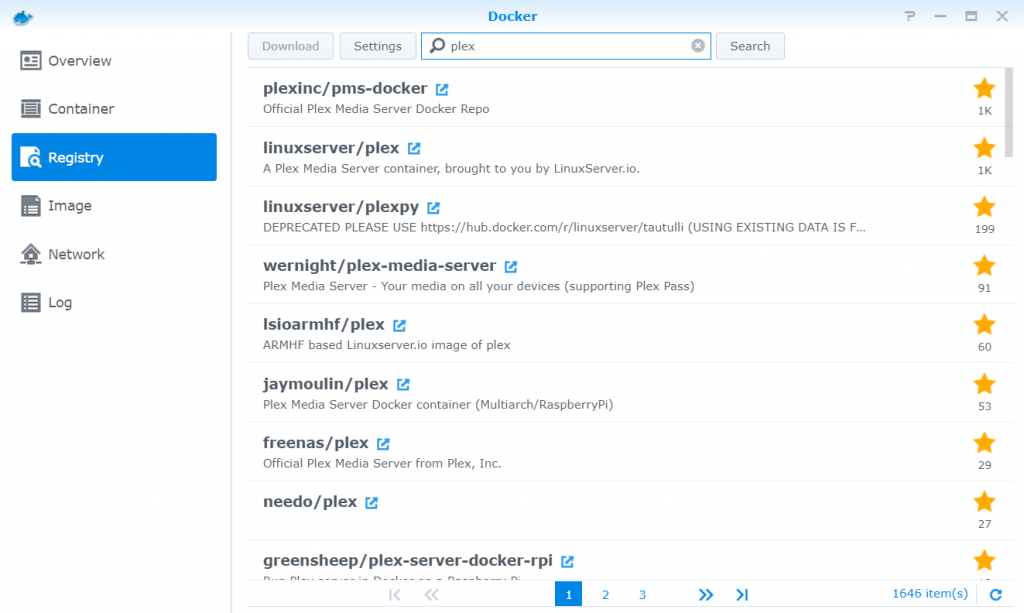
For the purposes of this guide, we’re going to go with linuxserver/plex, so right click and hit “Download this image”. That can run in the background, so move on to the next step while the download runs in the background.
Step 2 – Make a note of your library mappings
While the image is downloading, open up the plex app and make a note of your library mappings. The easiest way to do this is to go to Account Settings, then in the left panel scroll down to “Manage” and select “Libraries”.
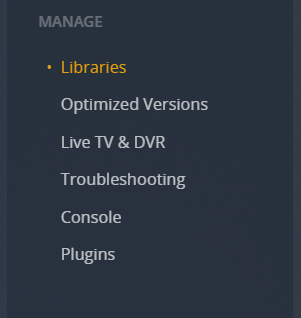
For each library you’ve previously created, click the Edit Library button, then on the Add Folders tab make a note of the folders you’re pulling content from. You’ll need these when configuring your Plex container’s volume mappings.
Step 3 – Stop the Plex App
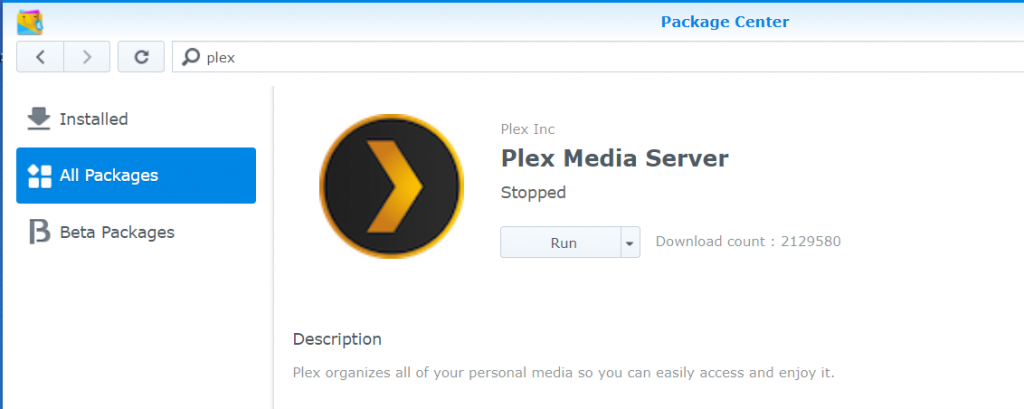
Open up the DSM Package Center, search for Plex, and hit Stop. Easy as that!
Step 4 – Look up your Plex user account IDs
Behind the scenes Synology’s package is running Plex under it’s own user account. This is good, as it lets you restrict which folders Plex has access to (a subject out of scope for this article, but worth looking into if you’re not already familiar with how Linux systems manage user permissions – there’s plenty of getting started guides out there for the curious at heart). Since this user account presumably has the correct permissions already, we’ll want to continue using it over in our Docker container.
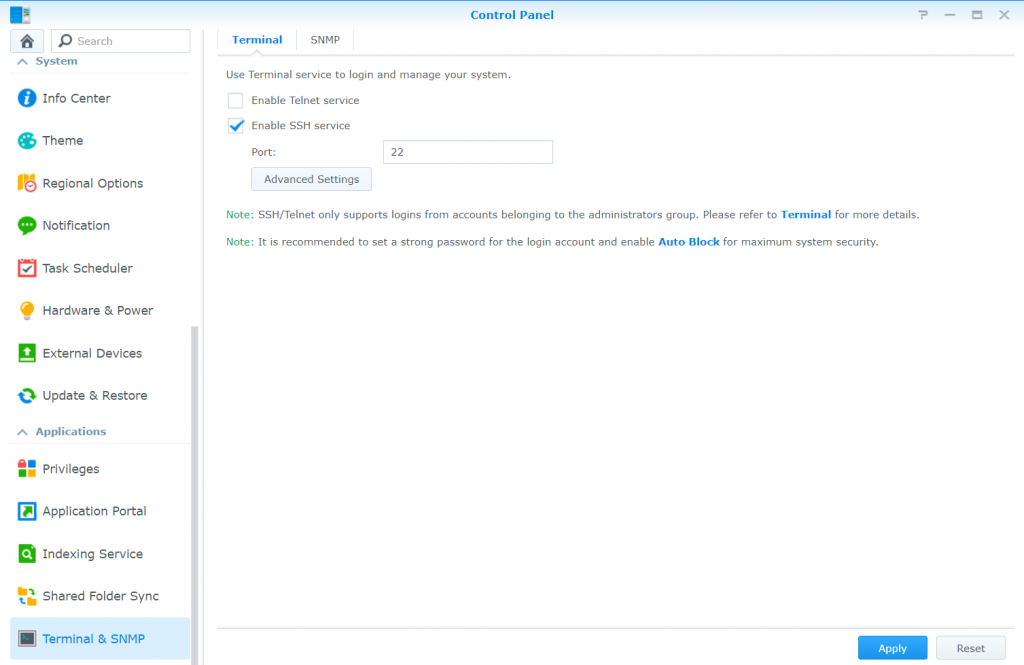
First, make sure SSH is enabled (Control Panel -> Terminal & SNMP -> if needed, check “Enable SSH service” and click Apply).
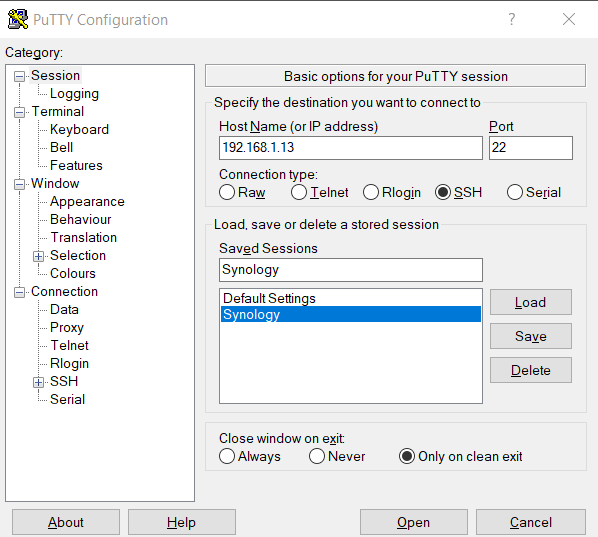
Next, SSH into your Synology. If you don’t already have an SSH tool, consider downloading Putty. Plug in your Synology’s IP address and port 22, then connect:
You’ll want to log in using an admin account:
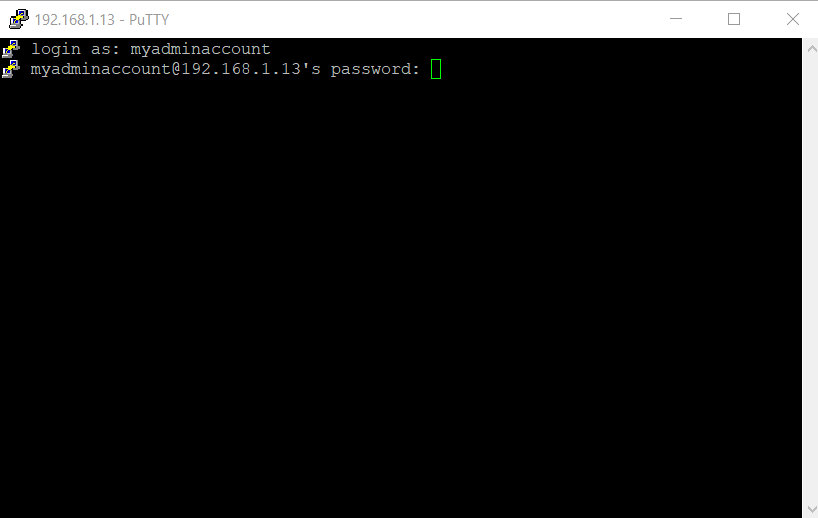
Once you’re logged in, run the following commands:
id -u plex
id -g plex
The first command outputs the numeric ID associated with the plex user, the second command outputs the ID of the group that the plex user account belongs to. Write these down – you’ll need them later. Once you’ve done that, end your SSH session (you can type “exit” and hit enter).
Note – at this point you may want to go back into the control panel and turn off SSH (uncheck the box and hit Apply), as leaving SSH on when you don’t need it can be a potential security vulnerability.
Step 5 – Create and configure a new container
Before you proceed any further, check that the container image is done downloading – Synology DSM will show a notification in the upper right corner when this occurs. Once you’ve confirmed the download is complete, in DSM open the Docker app back up and click Image, then select linuxserver/plex:latest and click Launch.
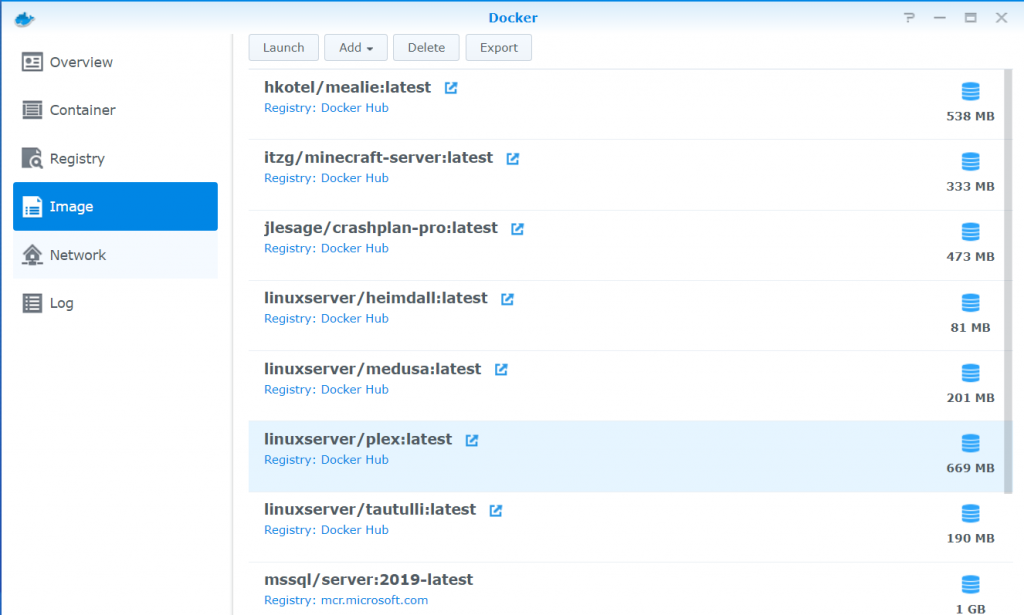
The Plex image downloaded and ready to use! 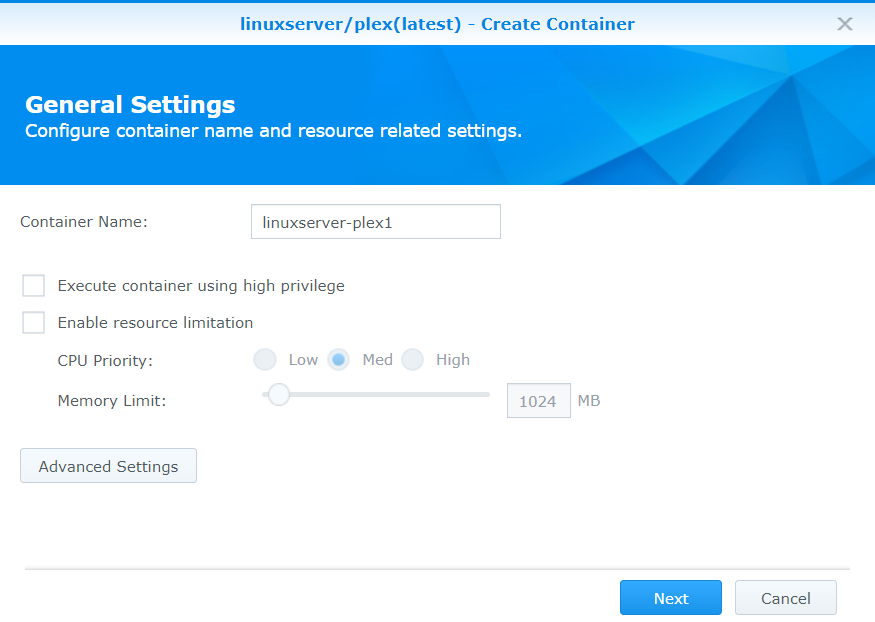
After clicking Launch, you’ll be prompted to configure the new container.
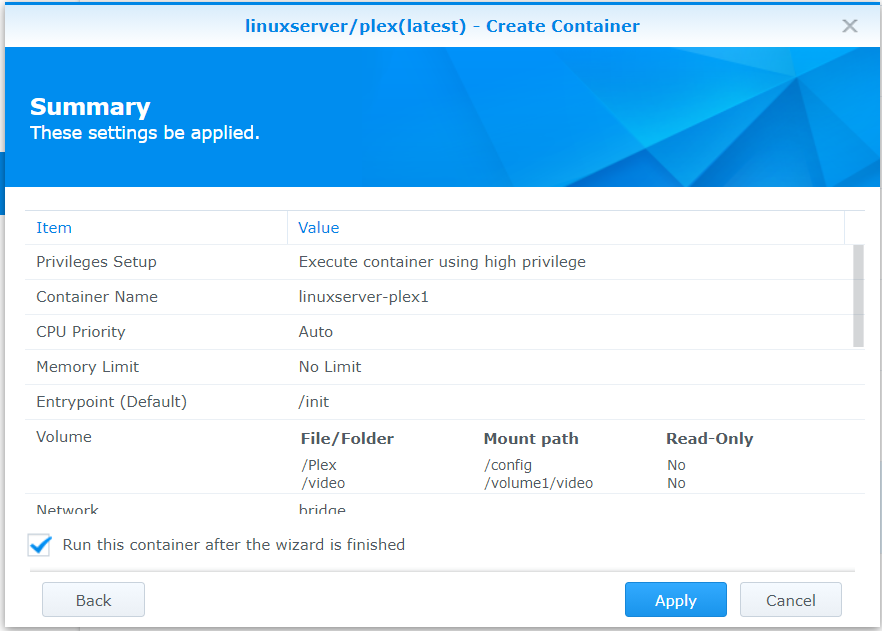
In the “Create Container” pop up enter your preferred container name (or just use the default name, which will most likely be “linuserver-plex1”). I checked the “Execute container using high privilege” box, which may or may not be needed – you can always check it later by stopping the container, right clicking and selecting Edit, checking the box and saving your changes, and then restarting the container.
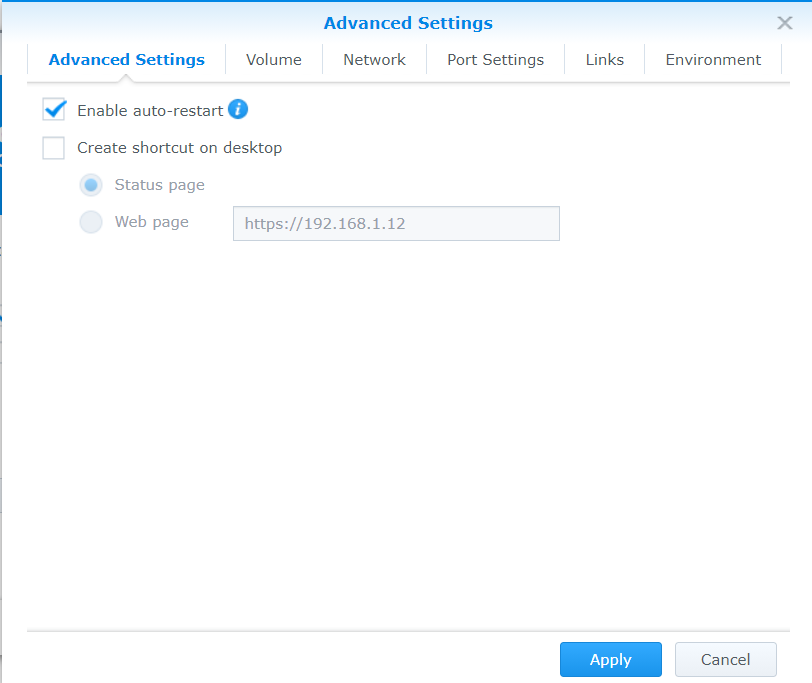
Having done so, click “Advanced Settings”. You’ll then see a new pop up with several tabs. On the first tab, check “Enable auto-restart” to ensure Plex restarts if the container crashes or your server reboots:
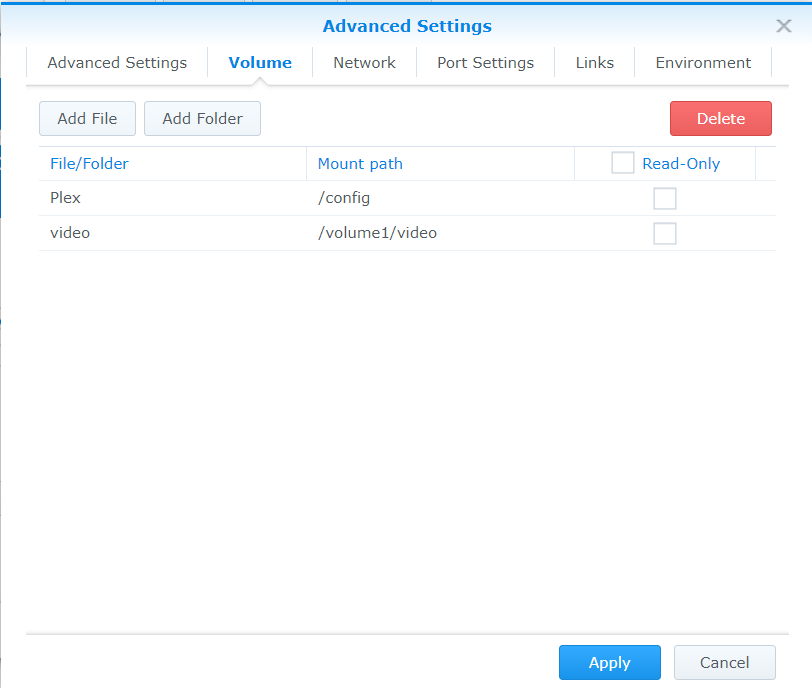
Next click the Volume tab. This tab controls which folders and files on the server are available inside your docker container as well as the folder path and/or file name that each folder or file shows up as inside the container. Remember back in step 2 when you wrote down the folders that your library is using? Pull that info back up, because you’re about to need it.
First, click “Add Folder” and select the Plex folder (it should show up right in the first level of your file tree). Map this folder to /config. This folder path contains your Plex install’s setup configuration – everything from the server name to the list of users to your libraries and more. This is the brains of your Plex install. You may want to consider making a backup of this folder before proceeding (to briefly summarize, give your admin account read/write access to the folder, then in DSM File Explorer right click on “./Plex/Library/Application Support/Plex Media Library” and select “Compress to Plex Media Library.Zip”. That way if things go sideways you can delete the folder and unzip the compressed copy). It’s important to map the base plex folder to /config, as by default Plex will be looking for a specific folder structure under the /config folder, and this ensures that the files from your existing install show up in the right spot.
Next, map any additional folders that Plex is pulling content from. In my case everything was reading from the ./video folder on the volume1 share, so I mapped the video folder to /volume1/video (you’ll likely want to explicitly list the volume name in the mount path to make the fully qualified path to the various library folders matches up). At the end of this your mappings should look something like this:
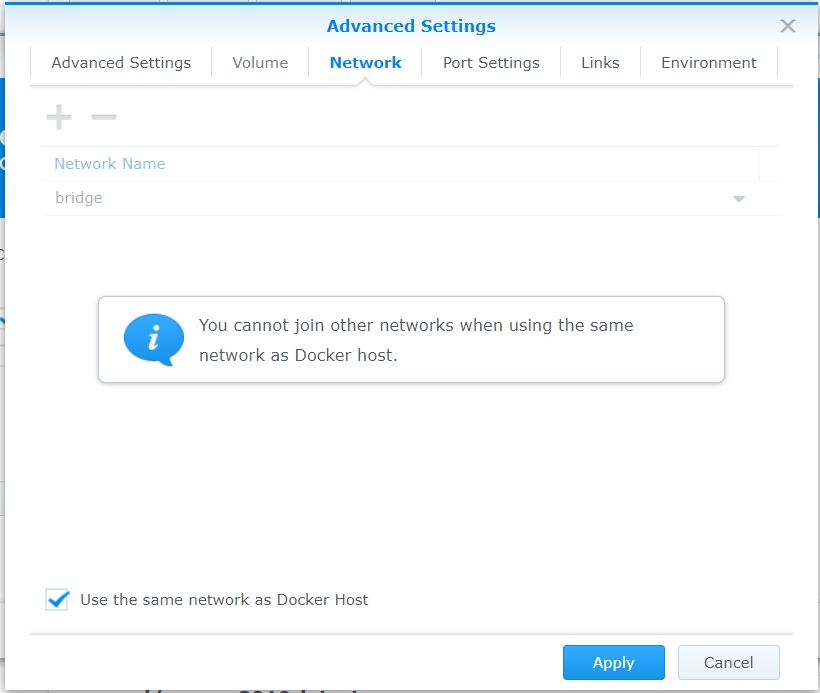
On the Network tab check “Use the same network as Docker Host”. This is the recommended approach (per the documentation for this container image); if you prefer, you can leave this unchecked and manually set up the port mappings on the Port Settings tab, but we’ll leave that as an exercise for the reader – if you do go down this road, the container image lists the various ports Plex will need exposed.
Since we’re using the host’s network, no need to visit the Port Settings or Links tabs (they’ll both be disabled), so skip over to Environment. The environment variables already specified here are fine as-is, but we’re need to add two entries to make sure the container runs as the Plex user. Pull up your notes from step 4, then click the plus button twice. Enter “PUID” and the plex user’s ID in one row, and “GUID” and the plex user’s group ID in the other. Once that’s done your Environment tab should look something like this:
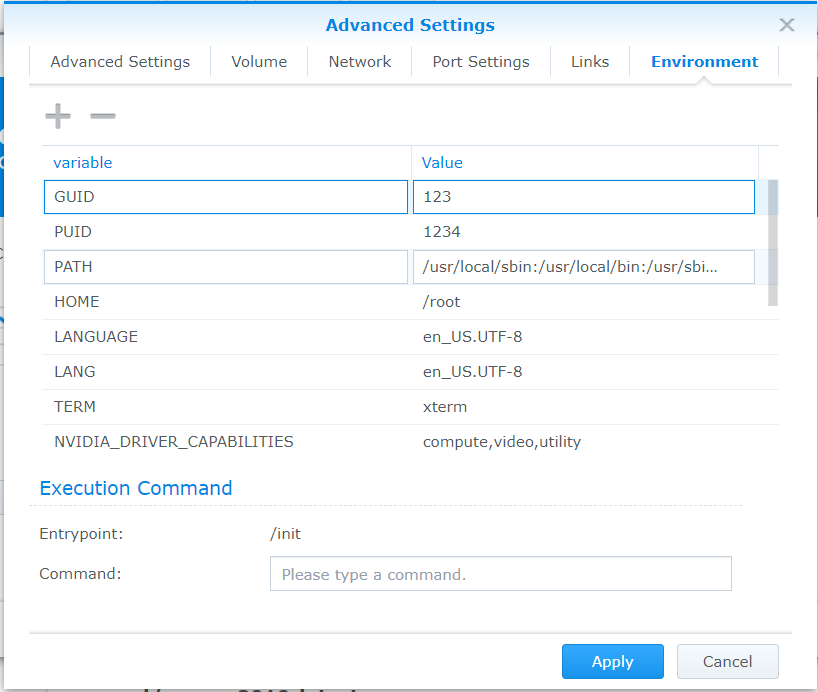
Click Apply, then click Next. You’ll then have a chance to double check your setup. If you’re happy with how things look, click Apply and start the container!
Step 6 – Verify everything is working
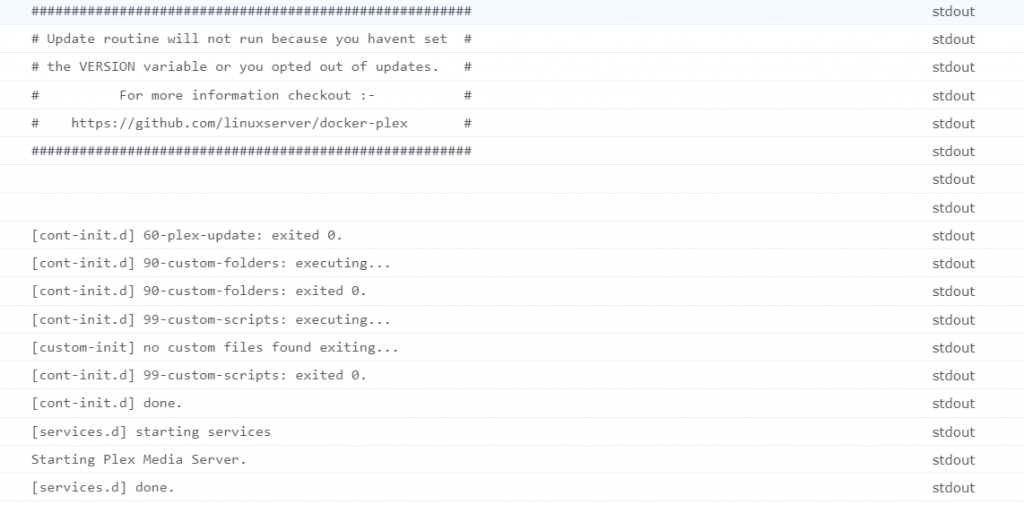
At this point you should have your container set up and running, so it’s time to make sure nothing went wrong. First, in the Docker app switch to the Container tab and verify your container is in the list (you may need to close and reopen the Docker app first). Verify the container is running, then select the container and click the Details button. Switch over to the logs tab or the terminal tab and verify that the container started without any issues (ie, double check the container isn’t stuck in a crash-restart loop!). You should see something like this in the logs:
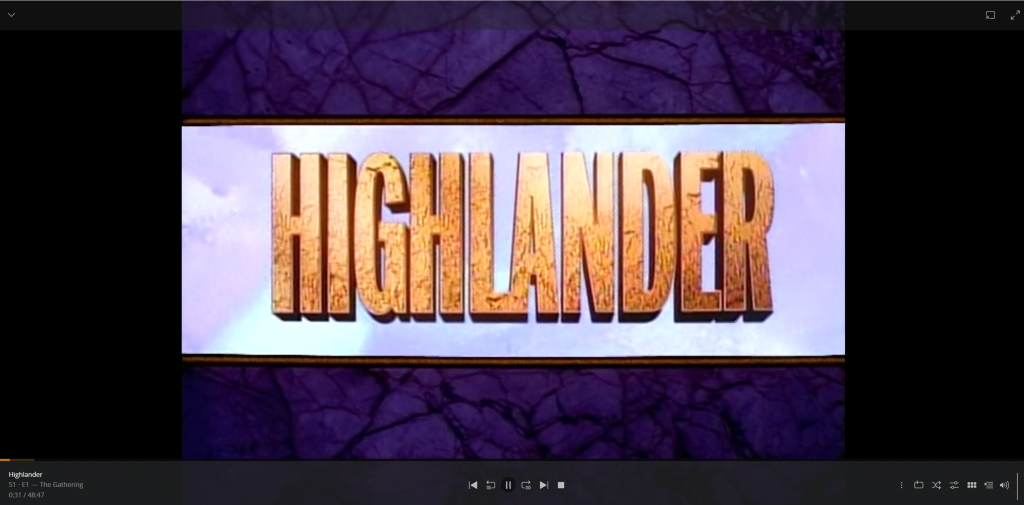
Next, open Plex from your browser and verify the server is up and that you can play content from your libraries. With any luck all your libraries should be correctly mapped and Plex will pick up where you left things; if you play a file and Plex shows an error message stating that it cant find a file in one of your libraries, don’t panic! Double check your library folder paths match up with the volume mappings you set up (you can view this in the container’s Details view, Overview tab, Volume panel; check Step 2 for how to look up the Plex library mappings). Stop the container, right click and Edit it, then fix your volume mappings and restart the container; with any luck that will resolve your issue.
Finally, check you can access your plex library from off-site. An easy way to do this is to, grab your phone, disconnect from wifi, and then open the Plex app and verify you can watch some content hosted on your server.
Step 7 – Cleanup
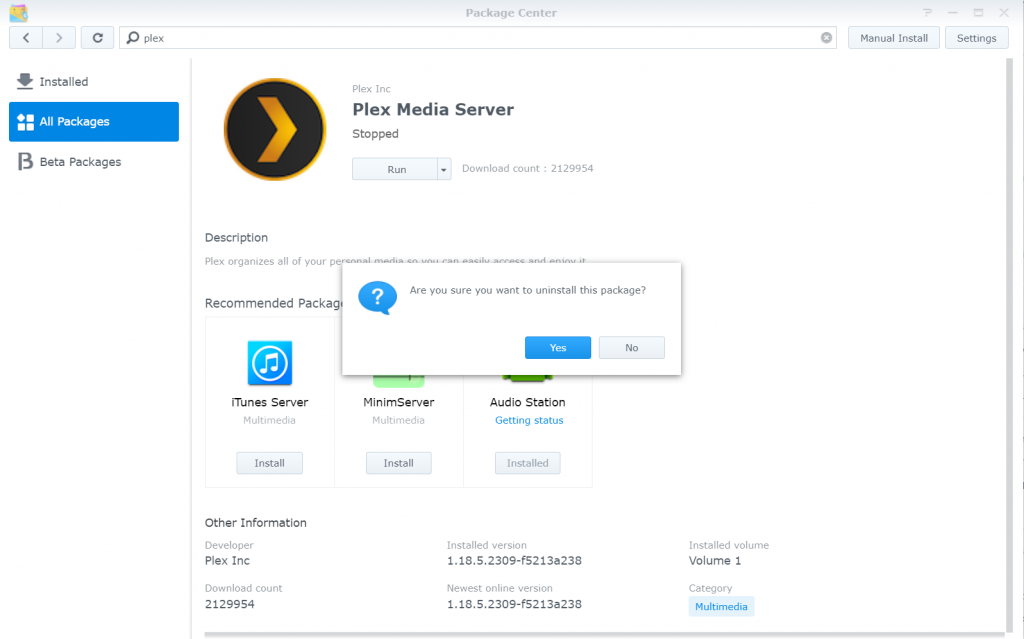
At this point Plex should be running from Docker. You can now uninstall the Synology package (don’t worry – it won’t delete any folders or the plex user account) as well as the backup you may have made of the Plex Media Server folder.
Closing Thoughts
Migrating from the Synology package to a docker install was surprisingly painless. Honestly the hardest part was figuring out where Synology stored the various Plex files and how to correctly map them. One thing I haven’t fully vetted is whether transcoding works; some sites mentioned needing additional configuration setup to unlock this feature, and Plex warns you need a Plex pass. As far as I can tell it looks like this feature is working for me without any additional setup, but your mileage may vary.
Sources
About The Author

Thomas Harris
Thomas Harris is a full stack developer with a background in web and desktop application development. He enjoys travel, music, reading, playing the violin, and video games. Unfortunately, he is not (currently) a world famous author.